Why Is Parking Lot Striping Important?
Before diving into the specifics, let’s review why parking lot striping is so crucial:
- Improved Traffic Flow: Proper striping helps drivers navigate the lot smoothly and safely, minimizing confusion.
- Maximized Space: It ensures every parking spot is used effectively, especially in crowded or limited spaces.
- Safety: Clear markings for pedestrian walkways, crosswalks, and handicap parking spaces improve safety for both drivers and pedestrians.
- Legal Compliance: Certain jurisdictions require specific striping, such as ADA-compliant spaces for individuals with disabilities.
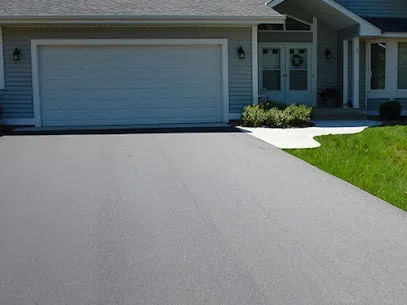
- Aesthetic Appeal: Well-maintained lines contribute to a professional, clean, and organized appearance.
When Should You Stripe Your Parking Lot?
Timing is everything when it comes to parking lot striping. Ideally, you should stripe your parking lot:
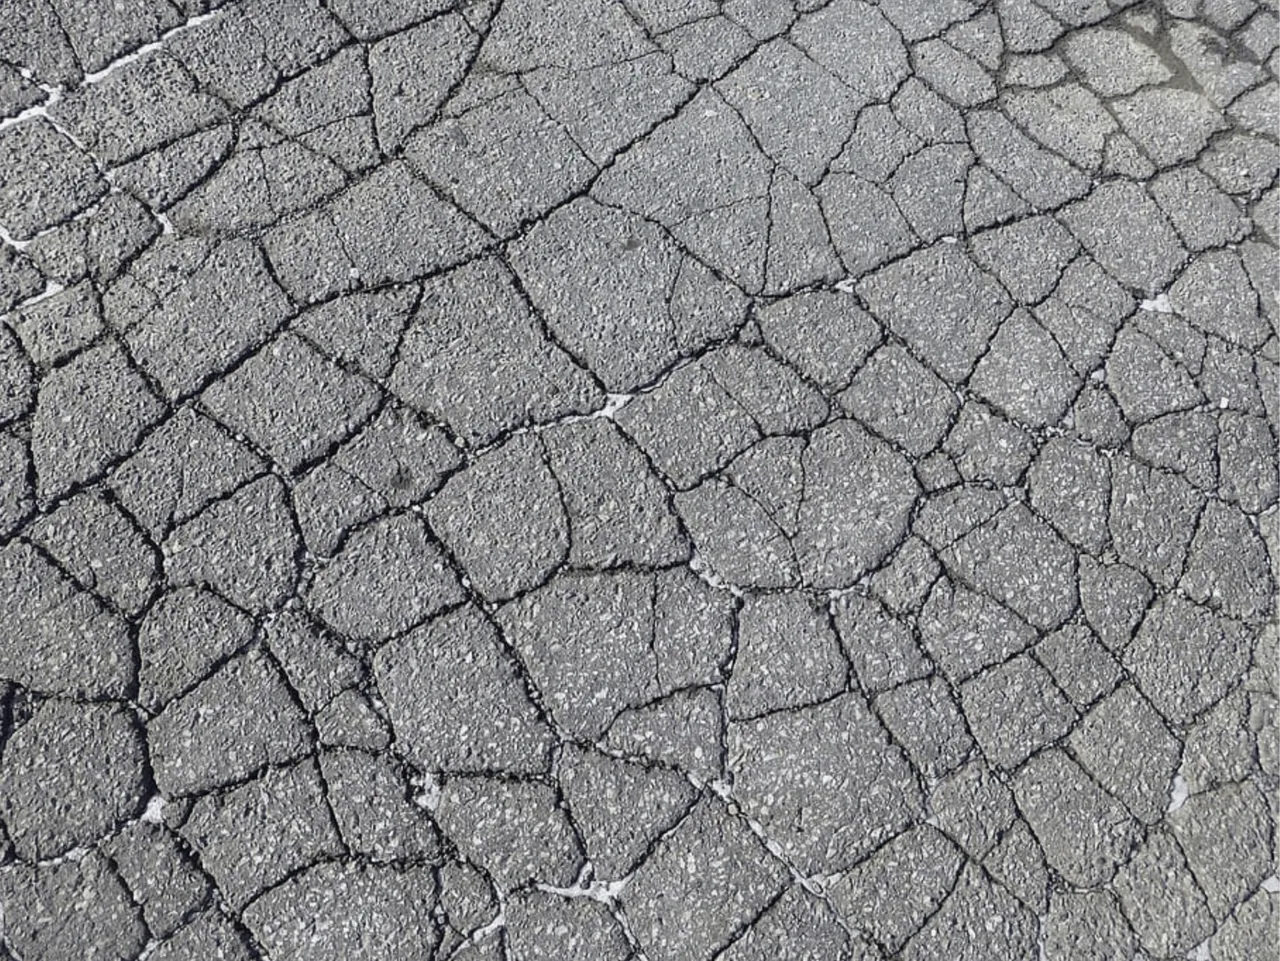
- When Lines Are Faded: Over time, weather and heavy traffic can wear down the paint, causing it to fade and become barely visible. If you notice that the lines are hard to distinguish, it’s time to re-stripe.
- After Asphalt Repairs or Resurfacing: If your parking lot has undergone any repairs, resurfacing, or patching, it’s important to apply new striping to reflect the updated layout.
- On a Regular Schedule: Even if your lines are still visible, it’s a good idea to re-stripe every 1–2 years, depending on usage and weather conditions.
- Before Peak Seasons: If you know your parking lot will experience high traffic during certain seasons (such as the holidays), plan to re-stripe beforehand to ensure smooth operations.
What Do You Need to Stripe a Parking Lot?
Proper equipment is crucial for ensuring a clean, crisp, and long-lasting finish. Here’s a rundown of the materials and tools you’ll need for parking lot striping:
1. Striping Machine
The striping machine is the heart of the operation. There are two primary types:
- Walk-behind stripers: These are suitable for smaller lots or areas with tight spaces.
- Riding stripers: Ideal for larger parking lots, as they can cover more ground faster.
2. Paint
The type of paint you use is crucial for durability and safety. Common options include:
- Oil-based paint: Known for its durability but has a stronger odor and takes longer to dry.
- Water-based paint: Environmentally friendly and dries faster but may not be as durable as oil-based.
- Thermoplastic paint: This is a high-durability option, ideal for high-traffic areas, offering long-lasting visibility.
3. Stencils
For specific markings such as handicapped spaces, arrows, or numbers, stencils are essential. High-quality stencils are durable and help maintain uniformity throughout the striping process.
4. Measuring Tools
Accurate measurements are key to a uniform and organized parking lot. Tools like measuring wheels or tape measures help ensure correct spacing and alignment for parking spaces, aisles, and directional arrows.
5. Safety Gear
Always wear protective gear, including gloves, a safety vest, and goggles. This ensures that you stay safe while working in the parking lot, especially in areas with active traffic.
6. Masking Tape or Chalk
To create clean, crisp lines, masking tape or chalk is used to mark out the area before you begin applying paint.
How to Stripe a Parking Lot: Step-by-Step
Now that you have the necessary tools and materials, here’s a step-by-step guide to parking lot striping:
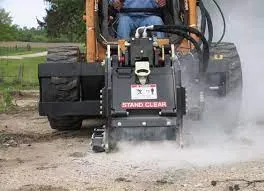
Step 1: Prepare the Area
- Clean the Surface: Sweep the parking lot to remove debris, dirt, and oil stains. Power washing may be necessary for a thorough cleaning.
- Mark the Layout: Using chalk or masking tape, mark where the parking spaces, directional arrows, and other markings will go. This will help ensure uniformity.
- Check for Weather Conditions: Striping should be done on a dry day with minimal wind to ensure the paint adheres well and dries properly.
Step 2: Set Up the Striping Machine
- Adjust the Paint Flow: Make sure the striping machine is calibrated to release the right amount of paint.
- Check for Consistency: Run a test line to check for any adjustments needed.
Step 3: Start Striping
- Create the Parking Spaces: Begin striping along the edges of the parking lot, following the layout. Ensure the lines are straight and even, with the correct spacing for the type of parking lot.
- Use Stencils for Special Markings: For spaces like handicapped spots or arrows, use stencils to create clear, professional markings.
- Pay Attention to Details: Ensure all lines are straight, well-spaced, and meet legal requirements.
Step 4: Drying Time
- Allow Proper Drying Time: Depending on the paint type and weather conditions, drying time may vary. Typically, water-based paint dries in 30 minutes to an hour, while oil-based paint can take longer.
- Avoid Traffic: Keep the lot free from foot and vehicle traffic until the paint has fully dried to ensure longevity.
Step 5: Clean Up
- Clean Your Equipment: Clean your striping machine and any tools used to prevent clogging and ensure they remain in good working condition.
- Dispose of Paint Properly: Ensure that leftover paint is disposed of following local regulations to avoid environmental harm.
Key Considerations for Parking Lot Striping
- Compliance with Regulations: Make sure your parking lot meets local zoning laws, accessibility standards (like ADA compliance), and safety regulations. For instance, the width and dimensions of parking spaces may vary by city or state.
- Parking Space Layout: Depending on your parking lot’s layout, you may need to consider angled parking, parallel parking, or one-way lanes to maximize space and ease traffic flow.
- Quality of Paint: High-quality, durable paint will withstand traffic and weather conditions longer, saving you money in the long run.
- Professional vs. DIY: If you don’t have the equipment or time to do the job, consider hiring a professional striping service. They have the expertise and tools to get the job done efficiently and to code.
Conclusion
Parking lot striping is a straightforward yet essential task that plays a significant role in the functionality, safety, and aesthetics of your parking area. By using the right equipment, choosing high-quality paint, and following the proper steps, you can maintain a clean, organized, and professional parking lot. Whether you’re re-striping after repairs, adhering to safety standards, or simply enhancing the appearance of your lot, timely and effective striping is a vital part of property management.
Take action today — maintain your parking lot with consistent striping and ensure a smooth, safe experience for both drivers and pedestrians!