How to Winterize Your Asphalt Driveway: A Step-by-Step Guide
Winter can be tough on your driveway, especially if you live in an area where freezing temperatures, snow, and ice are common. Asphalt driveways, while durable, are vulnerable to the harsh conditions of winter. If not properly maintained, they can crack, deteriorate, and suffer long-term damage, leading to expensive repairs down the line. Fortunately, with a little preparation, you can help protect your asphalt driveway from the elements and ensure it stays in good shape throughout the cold months.
Why Winterize Your Asphalt Driveway?
Asphalt is an incredibly resilient material, but like any outdoor surface, it faces wear and tear when exposed to extreme weather. During the winter, water can seep into small cracks in your driveway. When the temperature drops, this water freezes and expands, which can exacerbate existing cracks and create new ones. Snow and ice also introduce the potential for chemical damage from salt, which can degrade the surface and accelerate wear.
Winterizing your driveway helps prevent the freezing and thawing cycles from causing major issues, and it can extend the lifespan of your asphalt surface. Here’s a step-by-step guide to winterizing your driveway so it stays strong and protected until spring.
1. Clean the Driveway
Before you start any winterizing tasks, it’s important to thoroughly clean your driveway. Dirt, debris, and fallen leaves can trap moisture against the surface, which can lead to cracking and deterioration. Here’s how to clean it properly:
- Remove debris: Use a broom, rake, or blower to remove leaves, twigs, and other debris from the surface.
- Pressure wash: If your driveway is particularly dirty, consider using a pressure washer to get rid of grime, oil stains, or other residue that could trap moisture.
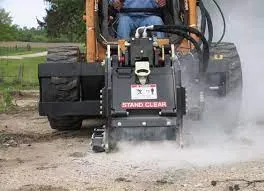
- Clear out cracks: For areas with visible cracks, use a wire brush or a putty knife to remove any weeds, moss, or loose debris from the cracks. This will help ensure that repairs are more effective.
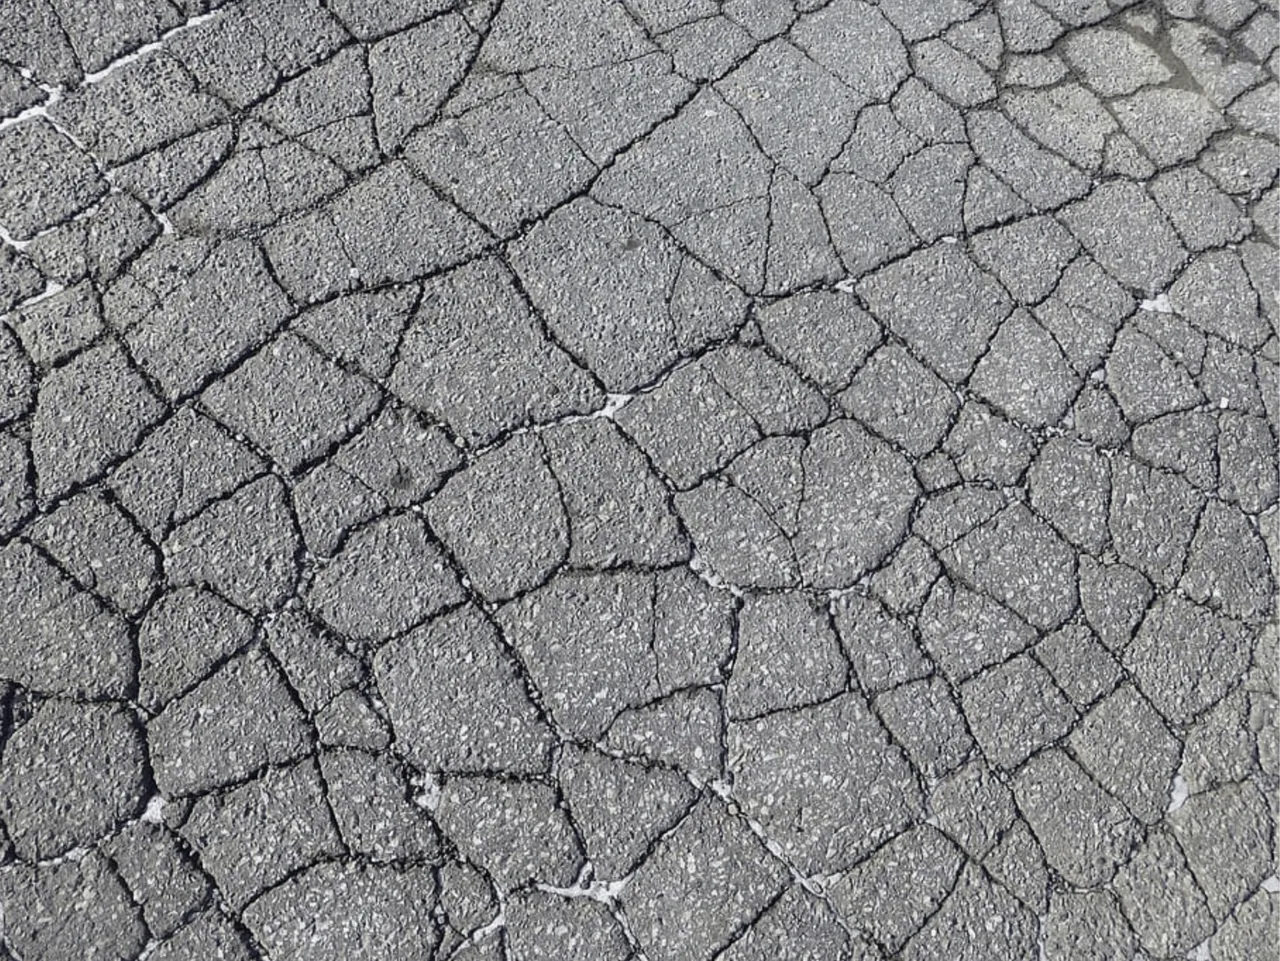
2. Inspect for Cracks and Potholes
Winter’s freeze-thaw cycle can make existing cracks and potholes in your asphalt worse. So before the season gets too cold, it’s important to inspect your driveway for any signs of damage.
- Cracks: Small cracks can be filled with crack filler, a product designed specifically for asphalt surfaces. These fillers expand and contract with temperature changes, preventing water from seeping into the cracks and freezing. Make sure to clean out any debris from the cracks before applying the filler.
- Potholes: Larger potholes or depressions should be patched with an asphalt patching product. These products are easy to apply and help prevent further damage during the winter months.
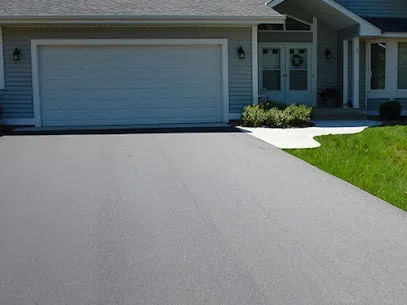
3. Seal the Surface
One of the most effective ways to winterize an asphalt driveway is to apply a high-quality sealant. Sealing your driveway helps protect it from water penetration, UV rays, oil stains, and the damaging effects of winter weather.
- When to seal: The best time to seal your driveway is in the late summer or early fall, ideally before the first frost. Asphalt needs time to cure, so it’s best to apply sealant when the temperature is consistently above 50°F (10°C).
- How to apply: Follow the manufacturer’s instructions carefully. Generally, the driveway should be clean and dry before applying the sealant. Use a squeegee or a brush to apply a thin, even layer across the surface, making sure to cover every inch of the driveway.
4. Fill Low Spots
Over time, asphalt driveways can develop low spots or areas where water pools. These low spots can freeze in the winter, creating hazards and further damaging the surface. To prevent this, you should address any uneven areas before winter arrives.
- How to fill low spots: If you notice any low spots, use a cold-patch asphalt product to fill them in. Smooth the surface with a shovel or broom, ensuring it’s level with the surrounding area.
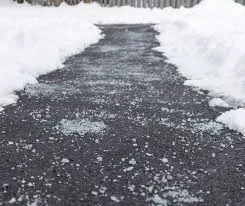
5. Clear Snow and Ice Promptly
Snow and ice buildup on your driveway can cause serious problems, from surface damage to safety hazards. It’s important to clear your driveway promptly after a snowfall to prevent moisture from freezing into cracks or damaging the surface.
- Shoveling or plowing: Regularly shovel or plow snow off your driveway as soon as possible. Avoid using metal shovels or snow blowers with metal parts, as these can damage the asphalt surface. Use plastic or rubber-edged tools to minimize the risk of scraping or gouging the driveway.
- De-icing: To prevent ice from forming, consider using a de-icer or salt. However, be cautious with the type of salt you use, as some salts can damage asphalt and cause cracks over time. Opt for safer alternatives like calcium magnesium acetate (CMA) or sand for traction.
6. Avoid Using Rock Salt
While rock salt is commonly used to melt ice on driveways, it can be harsh on asphalt and should be used sparingly. Salt can penetrate the surface and cause long-term damage, including cracking and pitting. If you must use salt, be sure to clean up any excess after the snow or ice has melted. Better yet, use alternatives like calcium chloride or sand to reduce the potential for damage.
7. Address Drainage Issues
Proper drainage is essential to the health of your asphalt driveway. If water is allowed to pool on the surface or along the edges, it can cause erosion and create more cracks. Check your driveway for any areas where water is not draining properly and address these issues before winter.
- Regrade the driveway: If necessary, you may need to regrade the driveway to ensure that water flows off the surface rather than pooling.
- Clear gutters and drains: Make sure any gutters, downspouts, or drainage systems near your driveway are clear of debris. This will help direct water away from the surface and prevent ice buildup.
8. Consider a Professional Assessment
If you’re unsure about the condition of your driveway or you’re not comfortable making repairs yourself, it’s worth having a professional assess your driveway. A paving contractor can check for issues you might not notice, recommend repairs, and help ensure that your driveway is properly sealed and winterized.
Conclusion
Winterizing your asphalt driveway is an investment in its longevity and appearance. By taking the time to clean, inspect, seal, and repair your driveway before winter sets in, you can protect it from damage and keep it in great condition for years to come. With the right preparation, your asphalt driveway will be able to withstand the harshest winter conditions, saving you time and money on costly repairs when spring arrives.